Colonization stage
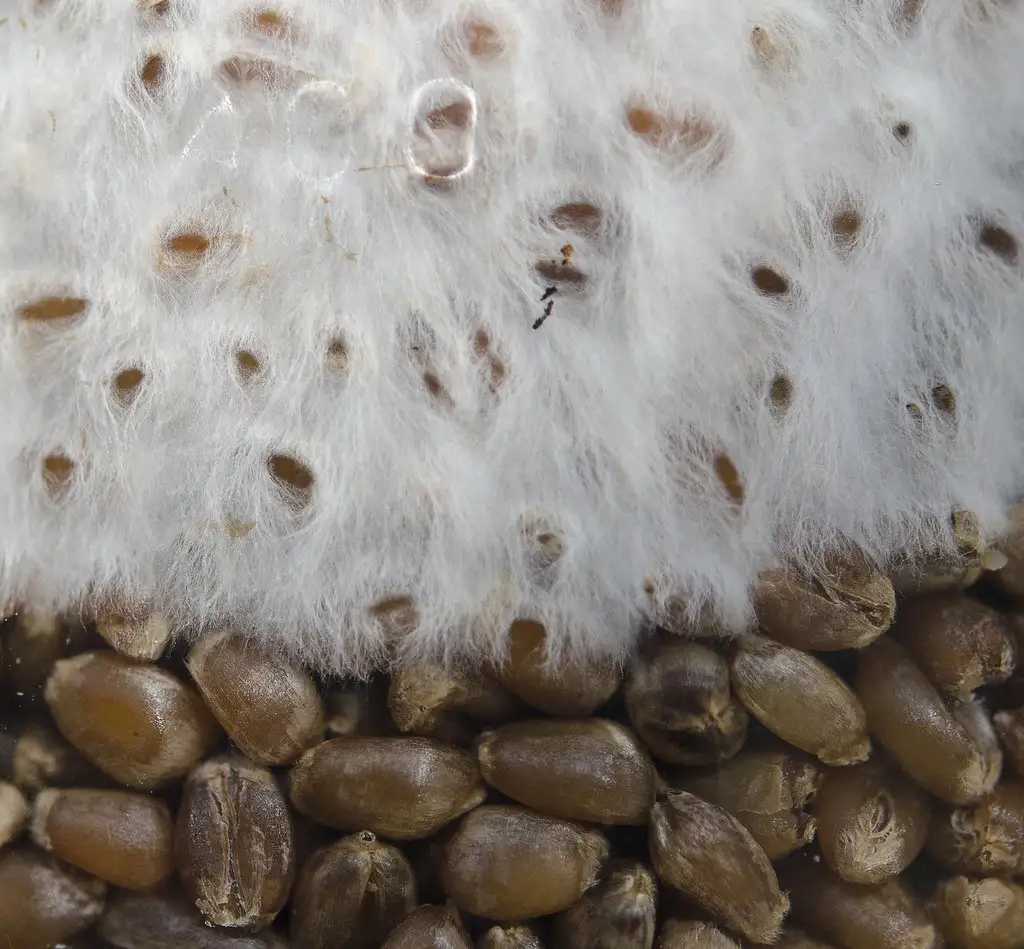
Once you’ve inoculated your grow bag kit, now you have to endure the hardest step of this process, waiting for the mushroom mycelium to colonize the substrate. This step varies in time-frames for each mushroom, but normally takes about a week or 2. It’s important to keep your grow bag in a dark and room temperature environment, as to keep the mycelium alive and well.
Accelerate colonization by breaking up the substrate
There is a cool trick that will decrease the time needed for the mycelium to colonize the grow bag. Once the first moment you can see the mycelium breaking through the substrate break it up to spread the mycelium throughout the bag effectively reducing the colonization time by half. Sooner or later your entire grow bag will be completely colonized and will be ready for the next phase of the process, Mushroom pinning.
Mushroom Pinning
It is now time to begin growing the mushrooms that you will later harvest and use for whatever you wish. At this stage the mycelium needs to breathe fresh air. Cut open your mushroom grow bag and open it up to allow air to hit the block of colonized substrate. Once you’ve opened your grow bag, you want to spray your block with its first misting which will initiate the pinning process. You will spray your colonized block with a fine mist of colder water the mycelium which will trigger the growth of miniature mushroom cap heads. This is the process of pinning and these little baby mushroom caps will eventually grow until fully grown mushrooms.
Increasing Yields
It is important to note that the more pins that are sprouted means the more yields you will have at harvest. Each mushroom has its specific pinning environment which produces the highest yields. Veteran mushroom growers know how to utilize this to increase yields by more than 300%.
Mushroom Growth
Once you’ve triggered the pinning process and can visibly see your baby mushroom caps you’ve entered the mushroom growth phase, your goal here is to make sure the mushrooms have the best conditions that lead to the highest quality harvest. To promote the growth of the mushrooms there must be a cycle of misting and drying of the mushrooms. You want to imagine the environment of a mushroom growing outside, with the warm moist air in the morning and the cooling and drying of the air as the sun begins to fall. Simply put you want to mist your grow bag in the morning and allow the bag to air out and dry up by the end of the day. You will repeat this daily cycle for about a week or so as you watch your mushrooms grow dramatically. At some point your mushrooms will begin to release their spores and for most mushrooms this is the best time to harvest.
Harvesting
Now for the grand finale of growing your own mushrooms, harvesting! Of course jumping straight into this process is simple. You could pick your mushrooms by hand and call it a day, or to often maximize your yields go a bit further. There are a few tricks growers can use to allow for a single grow bag to provide multiple flushes meaning multiple harvests.
Achieving Multiple Flushes
Getting your grow bag to have multiple flushes depends on two things; How much nutrients is contained within your substrate, and how you harvest your mushrooms. Our substrate bags and all-in-one grow bag kits often have enough nutrients to allow for multiple harvests. When it comes to properly harvesting your mushrooms for multiple flushes, we recommend cutting the mushroom by the bottom of their stem rather than pulling them straight out of the mycelium.
Wrapping it up!
To conclude our tutorial on how to grow mushrooms in a grow bag we’d like to thank all of our readers and supporters for making DEEPSPORE possible. We hope this knowledge helps inch you closer to a natural and sustainable way of healing.
